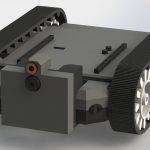
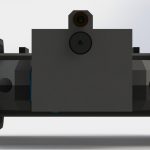
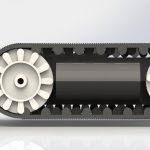
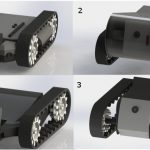
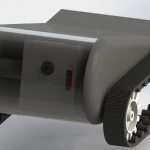
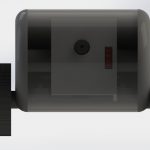
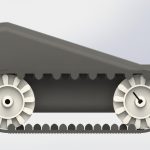
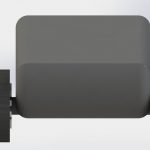
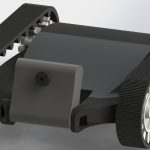
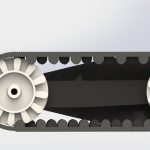
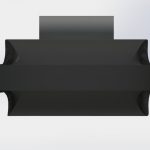
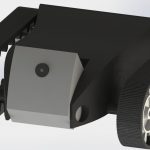
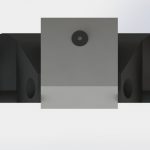
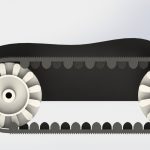
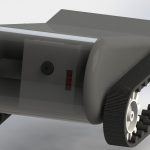
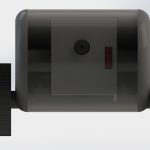
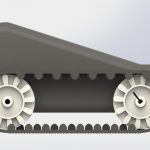
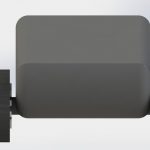
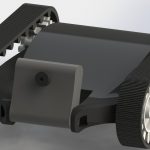
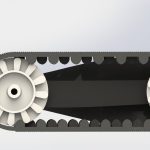
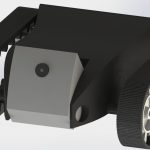
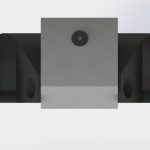
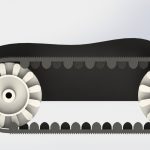
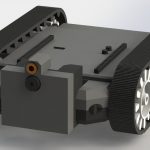
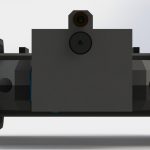
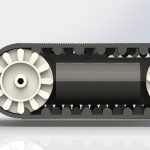
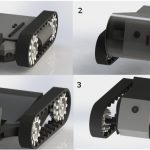
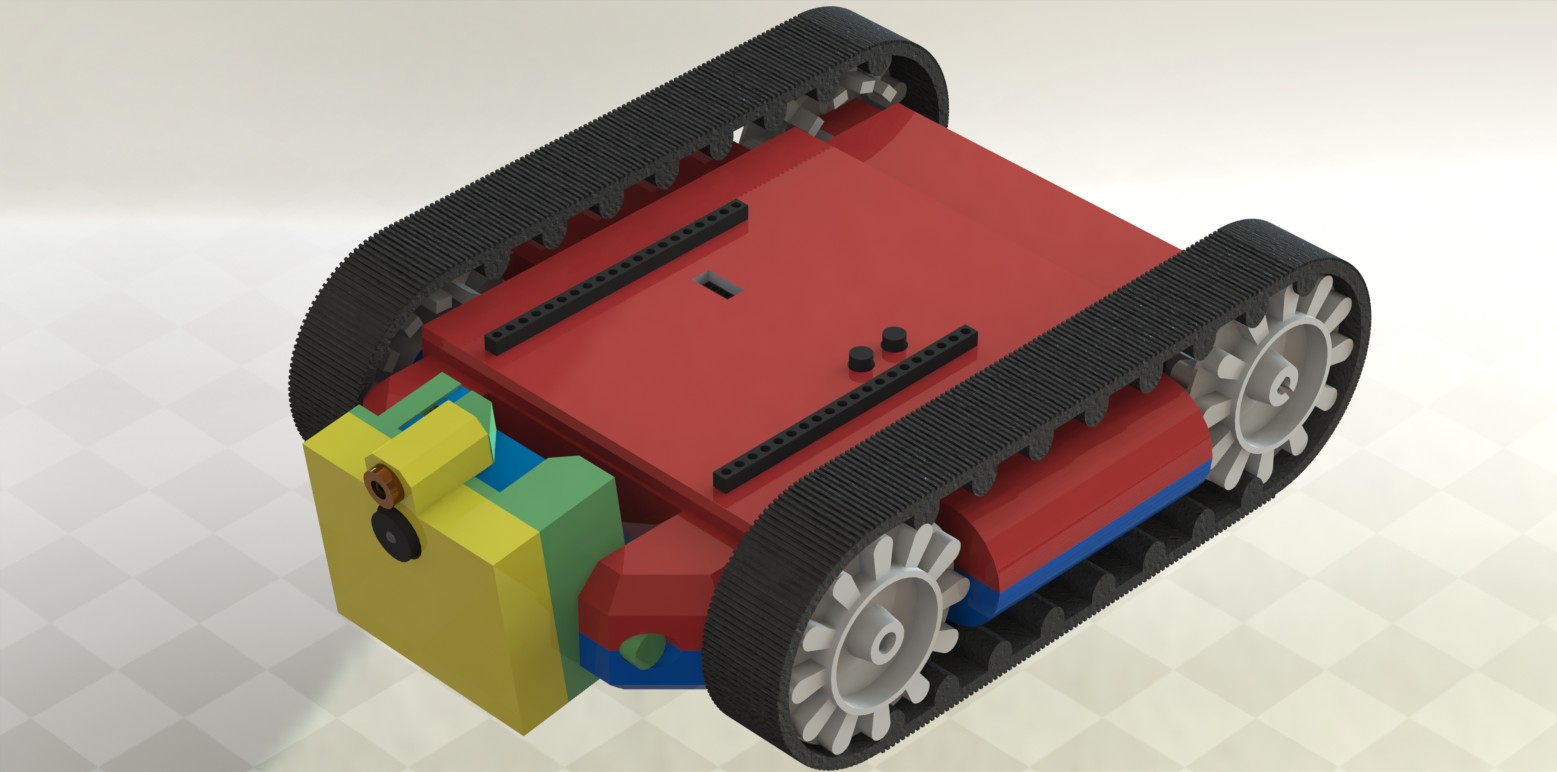
Update on the progress of the bot. We have added a claw off of thingverse (thanks to Kepler). That required us to change the top, so we ditched the flat top and camera “cap” and made a full flat top, it looks better and is easier to work with. Also got some transparent and black plastic for my 3d printer so lookout in the next video for more colors, or less colors :). Thanks for supporting us, your comments or ideas are always appreciated !
Throughput testing of ESP8266 module, size matters !
Summary
I’m looking into the ESP8266 module as a possible low cost alternative to the high speed spi module I use but, looking around I didn’t see any clear specs that told me how much data I can push through the thing. So I decided to run some tests and see how much data I could push through. I’m using a python application to simply send random data through the unit, I vary the baud and transmit package size and try and find sweet spots where there is maximum throughput.
Please if you know of any way to make them faster let me know. Maybe there is another firmware or way of interfacing that could make it faster.
Results
Comparing it to my other wifi modules it is very slow, my other wifi modules do up to 4.5Mbps (bits) where the esp maxes out at about 7KBps or .056Mbps (in tcp mode) which is very slow. Even with compressed jpeg images we are looking at 2fps at very low resolution.
In UDP mode we maxed out at about 19.2KBps which is much better, but it also has all the hurdles of UDP traffic that comes with the gain in speed. Thats about .15Mbps. At this speed it is possible that I could get a frame rate of 19KBps/3BJpg = 6fps 🙁 I easily get 2Mbps using my other wifi device, in fact my other wifi device is not even at its full potential because the camera can only output at 20fps.
Anyway these are my results, if you want to maximize throughput they may be helpful to you. I also realize that some of these tests may have to do with my network and butterfly wings but the overall trend line should be useful !
ESP Info
ESP03, on a custom made board
AT+GMR
00200.9.5(b1)
compiled @ Dec 25 2014 21:40:28
AI-THINKER Dec 25 2014
230400 Baud, TCP Client
Max Bps = 5760 @ TX Packet Size 1400
460800Baud, TCP Client
Max Bps = 7200 @ TX Packet Size 1424
460800Baud, UDP Client
Max Bps = 19200 @ TX Packet Size 1904
Bi Weekly Update 12 Red tracks, Cots parts
Done:
Finished picking pinouts so cots parts work with discovery
Tested Camera, Motor Control, Boost and Wifi
Cut out sides to hold Red tracks
Constructed and added Red Tracks
Summary:
A little late adding this update. I had some issues getting the camera working correctly, as well as the wifi. But everything is working great now. Picking the right pins and such. Added a bunch more logging output. Drove around quite a bit. The red tracks are a little bumpy because of the outside teeth, but it does not shake the video feed too much.
This version is going on the shelf as “done”. It has on/off switch and battery charger so its a working model that I can pull down and use whenever I want to demo the functionality. It has two batteries 18650, so it should last for hours before needing to recharge. I really didnt like the way the wifi is, I think its too fragile, but everything else is really rock solid.
The 3d printed sprockets are so-so, as well as the wooden sides. They do their job but I think there is a much better way of doing all of that. I want to make the inner side plate of the tracks simply extend from the regular side plate. This removes an entire part and a bunch of nuts and bolts. The outer track plate is not really required, we could simply have a U bolt sort of arrangement so the axels for the sprocket and bearings are looped back into the inner side plate. This way it will not be so wide, and there will be less parts and pieces. But this may be bad because you can catch your fingers in the track, or the track can come off.
Goals for next Bi-Weekly:
- top circuit gets through layout
- android application works well
- user settings saved in bot flash
- ordered new pcbs (connection, comm inventek, comm esp8266)
- layout esp8622 board so we can have alternative wifi
Thanks for reading !
Bi Weekly Update 11
Well if we are on Bi Weekly update 11 that means we have been making these videos for almost 6 months, thats crazy ! My goal is to get something “done done” before summer. For me summer starts in 3 days and I’m not “done done”, but I’m really close.
Done:
- tested L9110 with my motors
- I burnt up some but after rewriting drivers to use one pin for direction and other pin for speed it seems to work just fine.
- Using this it frees up the other two pwm so we can support 4 dc motors !
- Tested low profile boost converter
- Just keep turning the pot counter clockwise and it will go up, I put it at about 11v since the L9110 maxes out at 12v
- Revised pins
- changed pinout for comm so we can use D8 and D9 as a dedicated debug output
- Used E8,10,12,15 for direction control for 4 dc motors, pwm is still the same
- Since we are not using buzzer that is 4 more pwm channels for 4 more servo motors, thats 8 servo motors !
- Went over all gpio to ensure we dont conflict with the audio and usb circuits on the discovery
- Did the best I could here but there were still some conflicts
- We will revisit this when we are ready to write the drivers for sound
- Tested Enclosure
- put the enclosure together and drove around
- learned a lot about shrinkwrap and nyloc screws
- Using shrinkwrap I can quickly make really good connectors
- I’m going to make custom connectors to connect motors
- Designed out how the connector board will work
- “comm board” will be connected via connector
- this way we can just change the connector cable for different comm modules
- we can also route the board where ever it makes sense to put
- “comm board” will be connected via connector
Bi Weekly Update Number 7
We have a really solid design for the enclosure now. Ordered most of the parts and will be assembling in a few weeks. The enclosure is cost efficient, strong and expandable. Aluminum extrusions are the same enclosures used for industrial devices, they are made to attach or have things attached too.
The client is made in unity, so it will work on most all of the devices out there out of the box without having to make a different client for every platform.
I will try and get some good renders of the enclosure, as well as get the simulator working on my machine so people can test it out.
Bi Weekly Update number 7
New these last two weeks
BrainBoard
- High speed wifi
- Access point or connecting to router
BodyBoard
- Charger
- Boost circuit
- Motor Circuit
- Integration with Brainboard
Enclosure / Shell
Printed a test shell to ensure the bot will not be ridiculously slow, fast or eat up batteries etc. Didn’t get a chance to drive it yet, but all the components fit in the enclosure fine.
Bi Weekly Update 5
Bi Weekly Update 4
No more scan lines
We have had a pretty serious issue where these multi color scan lines distort the camera view. Cesar commented that they went with and were caused by the flashing led lights. Tuning off the blinking of the led lights made the image perfectly cleat with no scan lines.
Added apache commons cli parser
The pc example java applicatio was using my custom parsing. I replaced it with the apache.cli libs to better interpetate and handle user input when launching the app.
About 4 to 8 hours of battery life
With the 18650 batteries I’ve tested and found that on just one the unit lasts over 4 hours. That was not driving around, but we plan on using 2 of these batteries in parallel so we can safely assume at least 4 hours of run time.
Other Things
I have created a simple python forwarding service that allows you to forward the stream from the bot to anywhere, as well as split the stream with multiple clients. I have also got nanopb working and I can transmit more complex messages to the bot from python. I’m using google protocol buffers and adding support for them as well as the super simple protocol. I really need the ability to send more complex stuff like strings for setting the router un/pw, thats why I have to include PB.


